
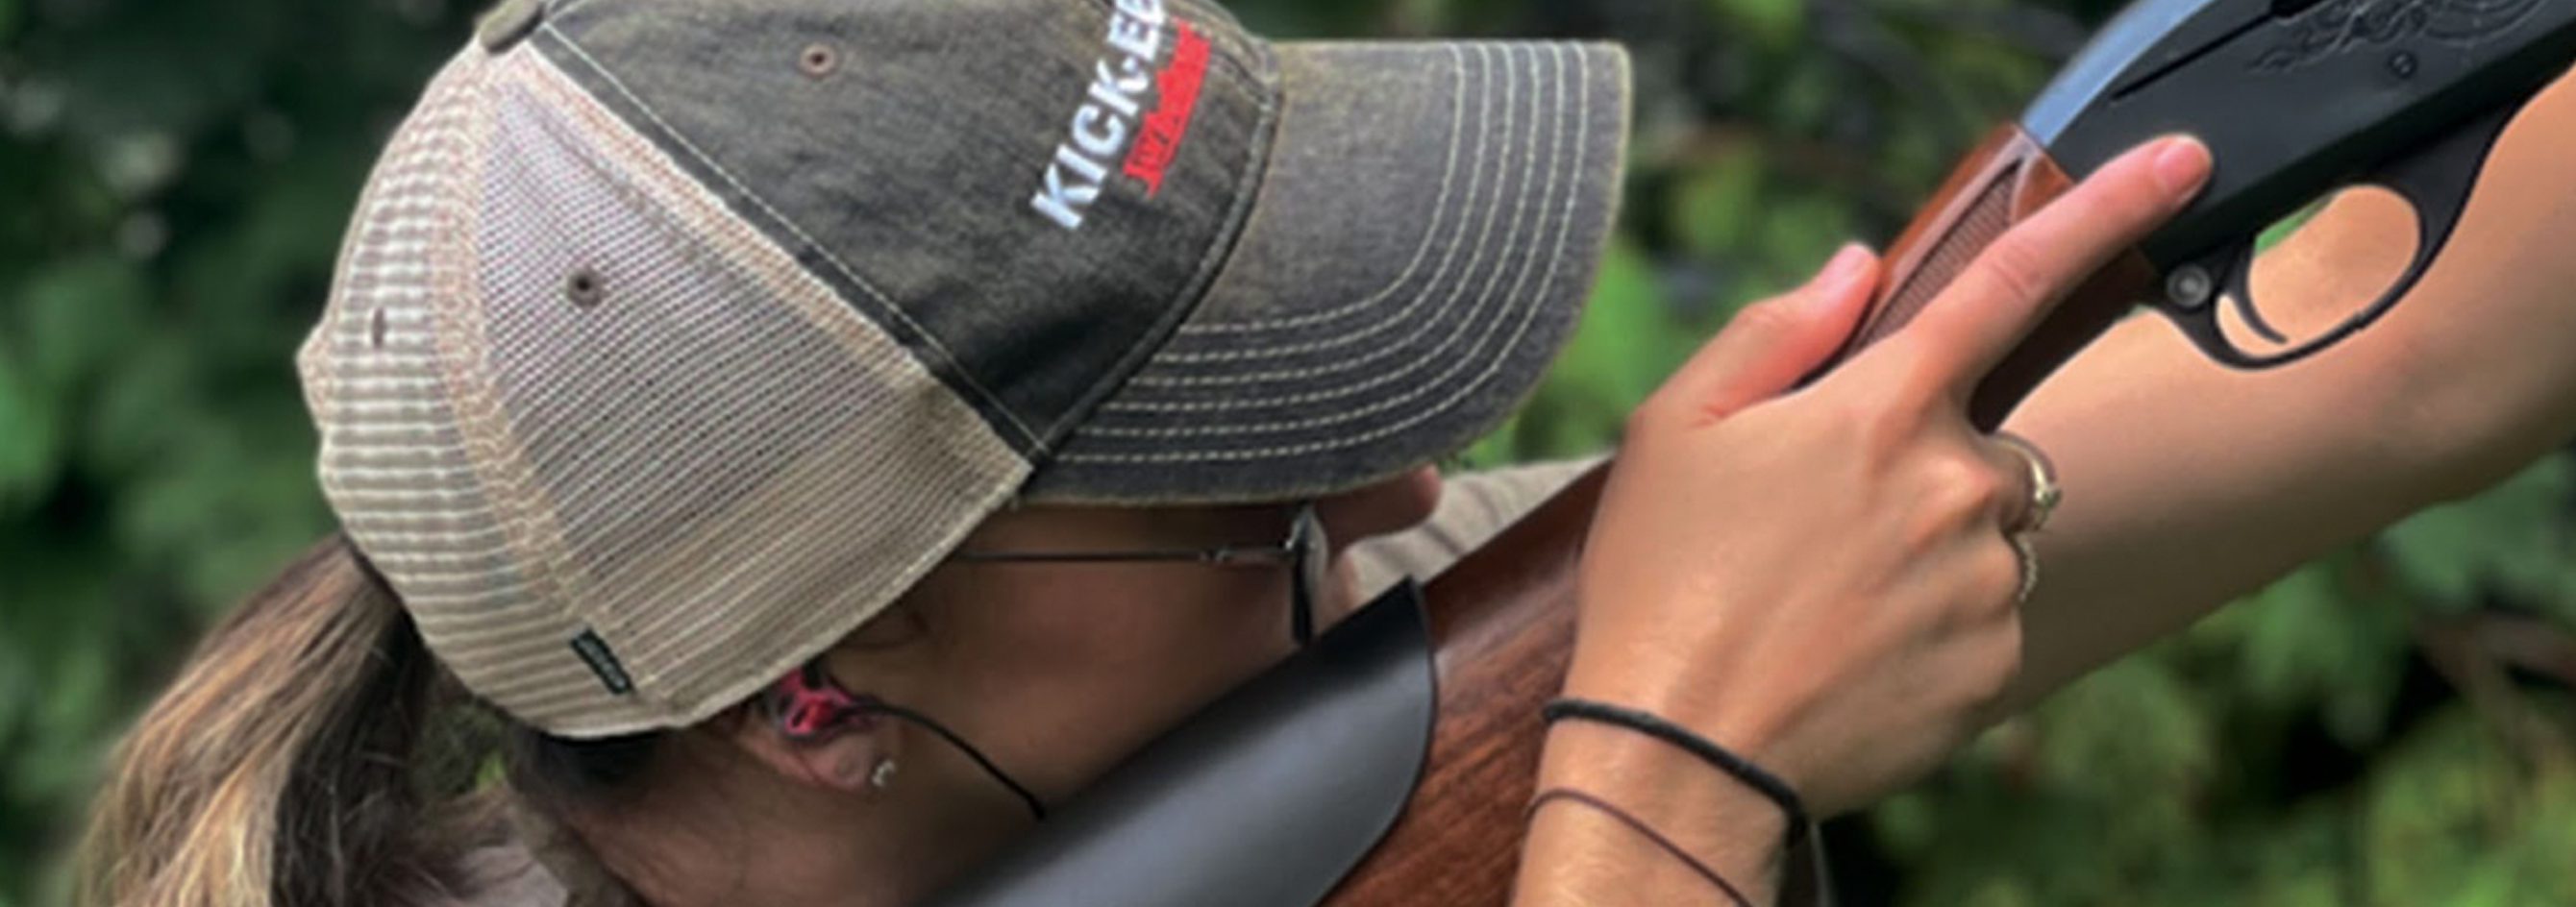
Installation and Care
How do I clean a KICK-EEZ Pad?
To clean KICK-EEZ Recoil Pads, use mild dish soap and water and dry with a clean cloth.
How do I install a CHEEK-EEZ?
CHEEK-EEZ is an oval shaped sheet of microcellular urethane that adheres to your gun comb to eliminate recoil shock to the cheek. These pads are also very useful if you need some adjustment to your “line of sight.” When installing the pad, it is very important to clean the gun stock thoroughly with alcohol swabs or the like. Keep in mind that some high-gloss finishes and many synthetic stocks do not lend themselves to the adhesive backing on our Cheek-EEZ. To install, position the pad temporarily (do not remove the adhesive backing at this point) to check for proper location on your gun. When you are satisfied with the placement of the Cheek-EEZ then you can remove the adhesive backing and secure to your gun.
Note: We do not recommend EVER that you try to reapply or reposition a Cheek-EEZ once the backing is removed as the adhesive quality is diminished and there is a chance you could tear the pad.
Installing More Than One Cheek-EEZ on the same gun:
You can stack Cheek-EEZ on top of each other (they WILL stick to each other); however, once they are stacked, you cannot separate them from each other without ruining all the Cheek-EEZ.
Removing a Cheek-EEZ
To remove a Cheek-EEZ, use your thumbs or the palm of your hand and slowly roll or peel it off. Removing too quickly can tear the pad or leave a glue residue on your stock. If this occurs, we always recommend that you check with your gun manufacturer to see if they recommend a latex remover that would be safe to use on your stock.
Gluing a Cheek-EEZ
Question: The Cheek-EEZ will not adhere to my gunstock; therefore, is it ok to use glue to attach a Cheek-EEZ pad to my gunstock?
Answer: We absolutely NEVER recommend gluing anything on your gunstock; therefore, if you choose to do this, do so at your own risk.
How do I grind a KICK-EEZ Pad?
NOTE: Watch the grinding demonstration on our website.
Full instructions here: https://kickeezproducts.com /installation.
A disc or belt sander works great for sanding your pad; the key is to put the pad on your gun butt and scribe a pencil line around the gun stock, be sure to let the screws take the pad into position. This will ensure the proper fit when finished. This will show you how much you have to sand; in order to protect your stock, always sand the pad OFF your stock. Note: Both our Grind-to-Fit and our Pre-Fit Pads can be ground.
Start out using 80 or 100 grit sand paper and progressively go to a finer grit such as 220 grit. You can finish grinding with 400 grit or a similar size. It is VERY important that you make SEVERAL passes so that heat does not build up in the pad. You should finish radiusing the side and edges of your pad with a small sponge sanding block (these are sold at Home Depot or most any hardware store). Some people even use emery cloth or polishing pads to make the pads smooth. When in doubt, always go slow and repeat passes. Patience is the key! As long as you follow these rules, you should NEVER encounter any problems sanding a KICK-EEZ® Recoil Pad! KICK-EEZ® Recoil Pads have no steel plates or hollow spots so you can sand as little or as much as necessary and never need to worry about ruining your pad.
To clean your pad when finished sanding you can use Armor All, Lemon Pledge—it works really well to blacken a KICK-EEZ® Pad, Damp warm cloth or just plain soap and water.

Can I install a KICK-EEZ recoil pad on a stock with a curved butt face?
These instructions will work ONLY if the curve of your stock is less than 1/4 inch and preferably 1/8 inch.
Note: Follow these instructions at your own risk!
Place the pad in a plastic sandwich bag that you can seal the top completely closed. Place the pad that is sealed inside the bag into boiling water for 2-3 minutes. What this does is soften the base plate enough so that you can then bend the pad to fit the curvature of your gun butt. Sometimes people have placed a broom handle on their work bench and placed the pad over the broom handle. It will cool quickly and take on the new shape. Keep this in mind—if the curvature is extreme, this will shorten the pad and also perhaps it will change the location of the screw holes. Our KICK-EEZ® Sorbothane pads will NOT be altered as long as you don’t overdue the length of time in the boiling water (2-3 minutes).
As an alternative to boiling pads a heat gun may be used as long as the heat is not excessive. Using a good heat gun or small propane torch, heat the base between the screw holes. Using a torch, it will take 5-10 seconds to heat the base enough to bend the pad backwards over a hammer or broom handle. Hold in place for 3-4 minutes and it should keep the new curve. Do not worry if you put too much curve in the pad; the screws will pull the pad down to match the butt curve. Scribe your sanding line on the baseplate, remove the pad from your stock, and sandas necessary.
How do I plug a pad?
We are currently working on a tutorial video on plugging pads, however, we will explain the technique that we are recommending. We will also be linking all of the supplies needed on amazon below.
Supplies
Tube of 100% silicone 1
Super black food coloring
Corn Starch
(Purchasing links below)
Mixing the Putty
Note: Mix the putty when prompted to in the “Plugging the Pad” section.
1. Have two disposal bowls ready.
2. Bowl 1: Place 3 heaping tablespoons of cornstarch in this bowl.
3. Bowl 2: Squeeze 3 tablespoons worth of silicone out. There is no need to be precise with these amounts.
4. Place a generous amount of the black food coloring into the silicone. Mix until color is the consistent.
5. Place the putty in the cornstarch.
Plugging the Pad
Be sure to plug after you've sanded the pad.
- Place clear packing tape over the two holes on both sides of the Kick-EEZ logo. Make sure the tape is stretched over the holes tightly. Mask any other portions of the pad that you don't want getting dirty. This isn't mandatory, but it saves some cleaning up later.
- Mix up the putty. Don't be sparing with the food coloring. Add plenty in order to get the color to match.
- When first mixing, fold it very softly 5-6 times and coat in cornstarch. Fold it more firmly 5-6 times again and coat it in cornstarch. Keep repeating this process making the folds more and more firm each time until the putty no longer feels tacky after the folds.
- Take a portion of the putty and press it into the hole on in the hard base of the pad with your finger (please wear gloves). There will be excess putty that doesn't go into the hole. Pile that putty over the hole again and press it into the hole. Keep doing this until the hole is full.
Note 1: If you want the color to match, do not overfill the hole because the putty has a different color once it has been cut. Fill it until it is flush with the rest of the pad. If you don't mind the color matching, then overfilling is no issue, you can just cut the excess with a utility blade and sand the area of the plug to have it look and feel flush with the rest of the pad. - Let the putty dry for at least 3 hours.
- After the putty has set up, sand the hard base of the pad lightly to remove any putty that would be wedged between the stock and the pad once the pad is installed